前言
此次采用在UTM虚拟机软件内,通过QEMU引擎模拟x86架构,从而实现创建x86架构的虚拟机。平日里使用感最好的方法自然是VPS或者自备一台win物理机,但是考虑到部分特殊情况或比赛中不允许连接互联网,又嫌带两台电脑不够优雅,所以尝试用尽可以简单且稳定的方法在ARM架构的mac上搭建x86的pwn环境。
WARNING此方法对虚机性能影响较大,Desktop版几乎是卡到没法用,各位师傅自行斟酌。
参考配置
M2 MacBookAir 16G内存1T硬盘
macOS Sonoma — 14.5
UTM — 4.5.3 (99)
Image — Ubuntu Server 22.04 LTS x86_64
TIP镜像建议选择22.04,最新的24.04经测试有些小问题
安装UTM
直接Github下载
https://github.com/utmapp/UTM/releases
App Store也有,想支持开发者可以去购买,功能完全一样。
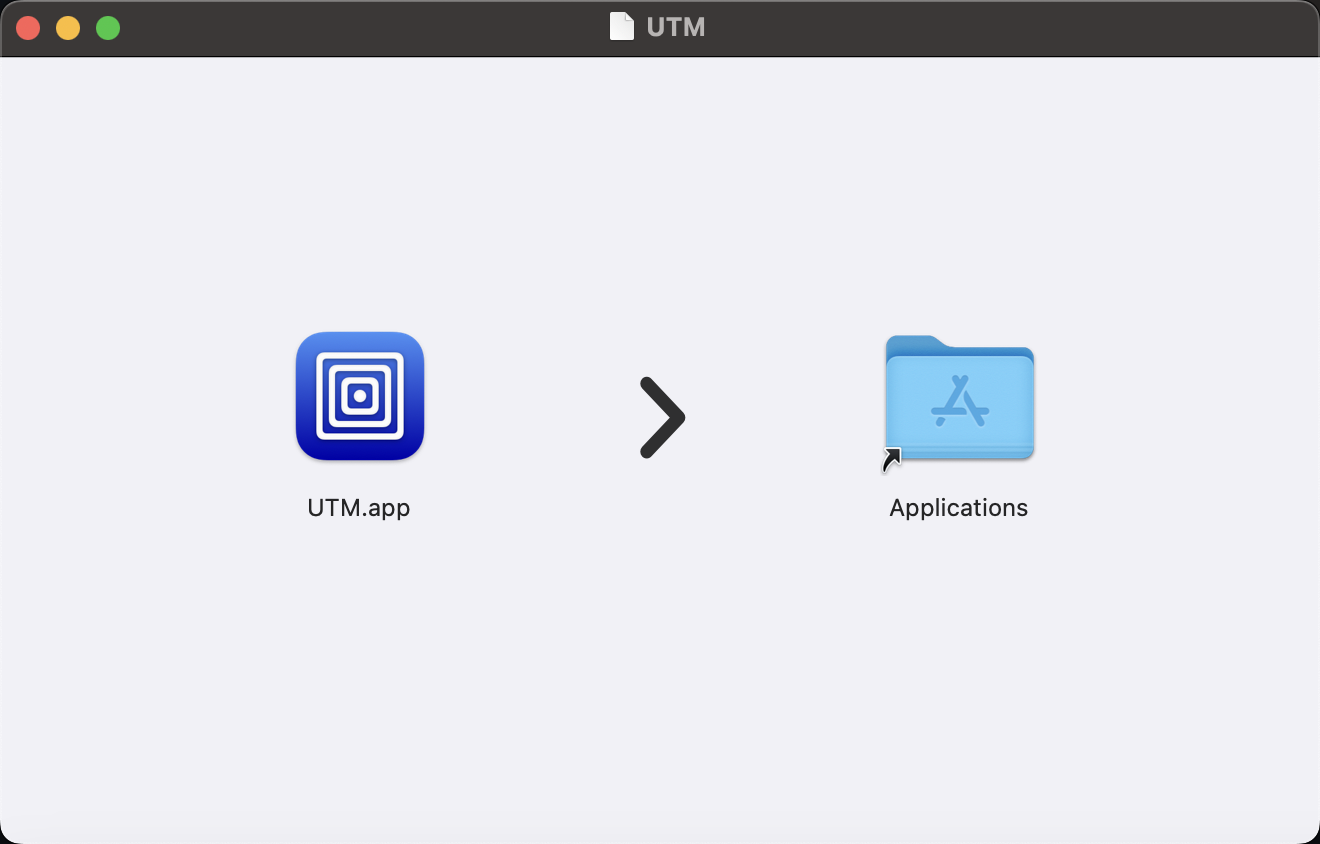
安装直接拖拽就好
安装 Ubuntu 22.04 x86_64
直接官网下载
https://ubuntu.com/download/server
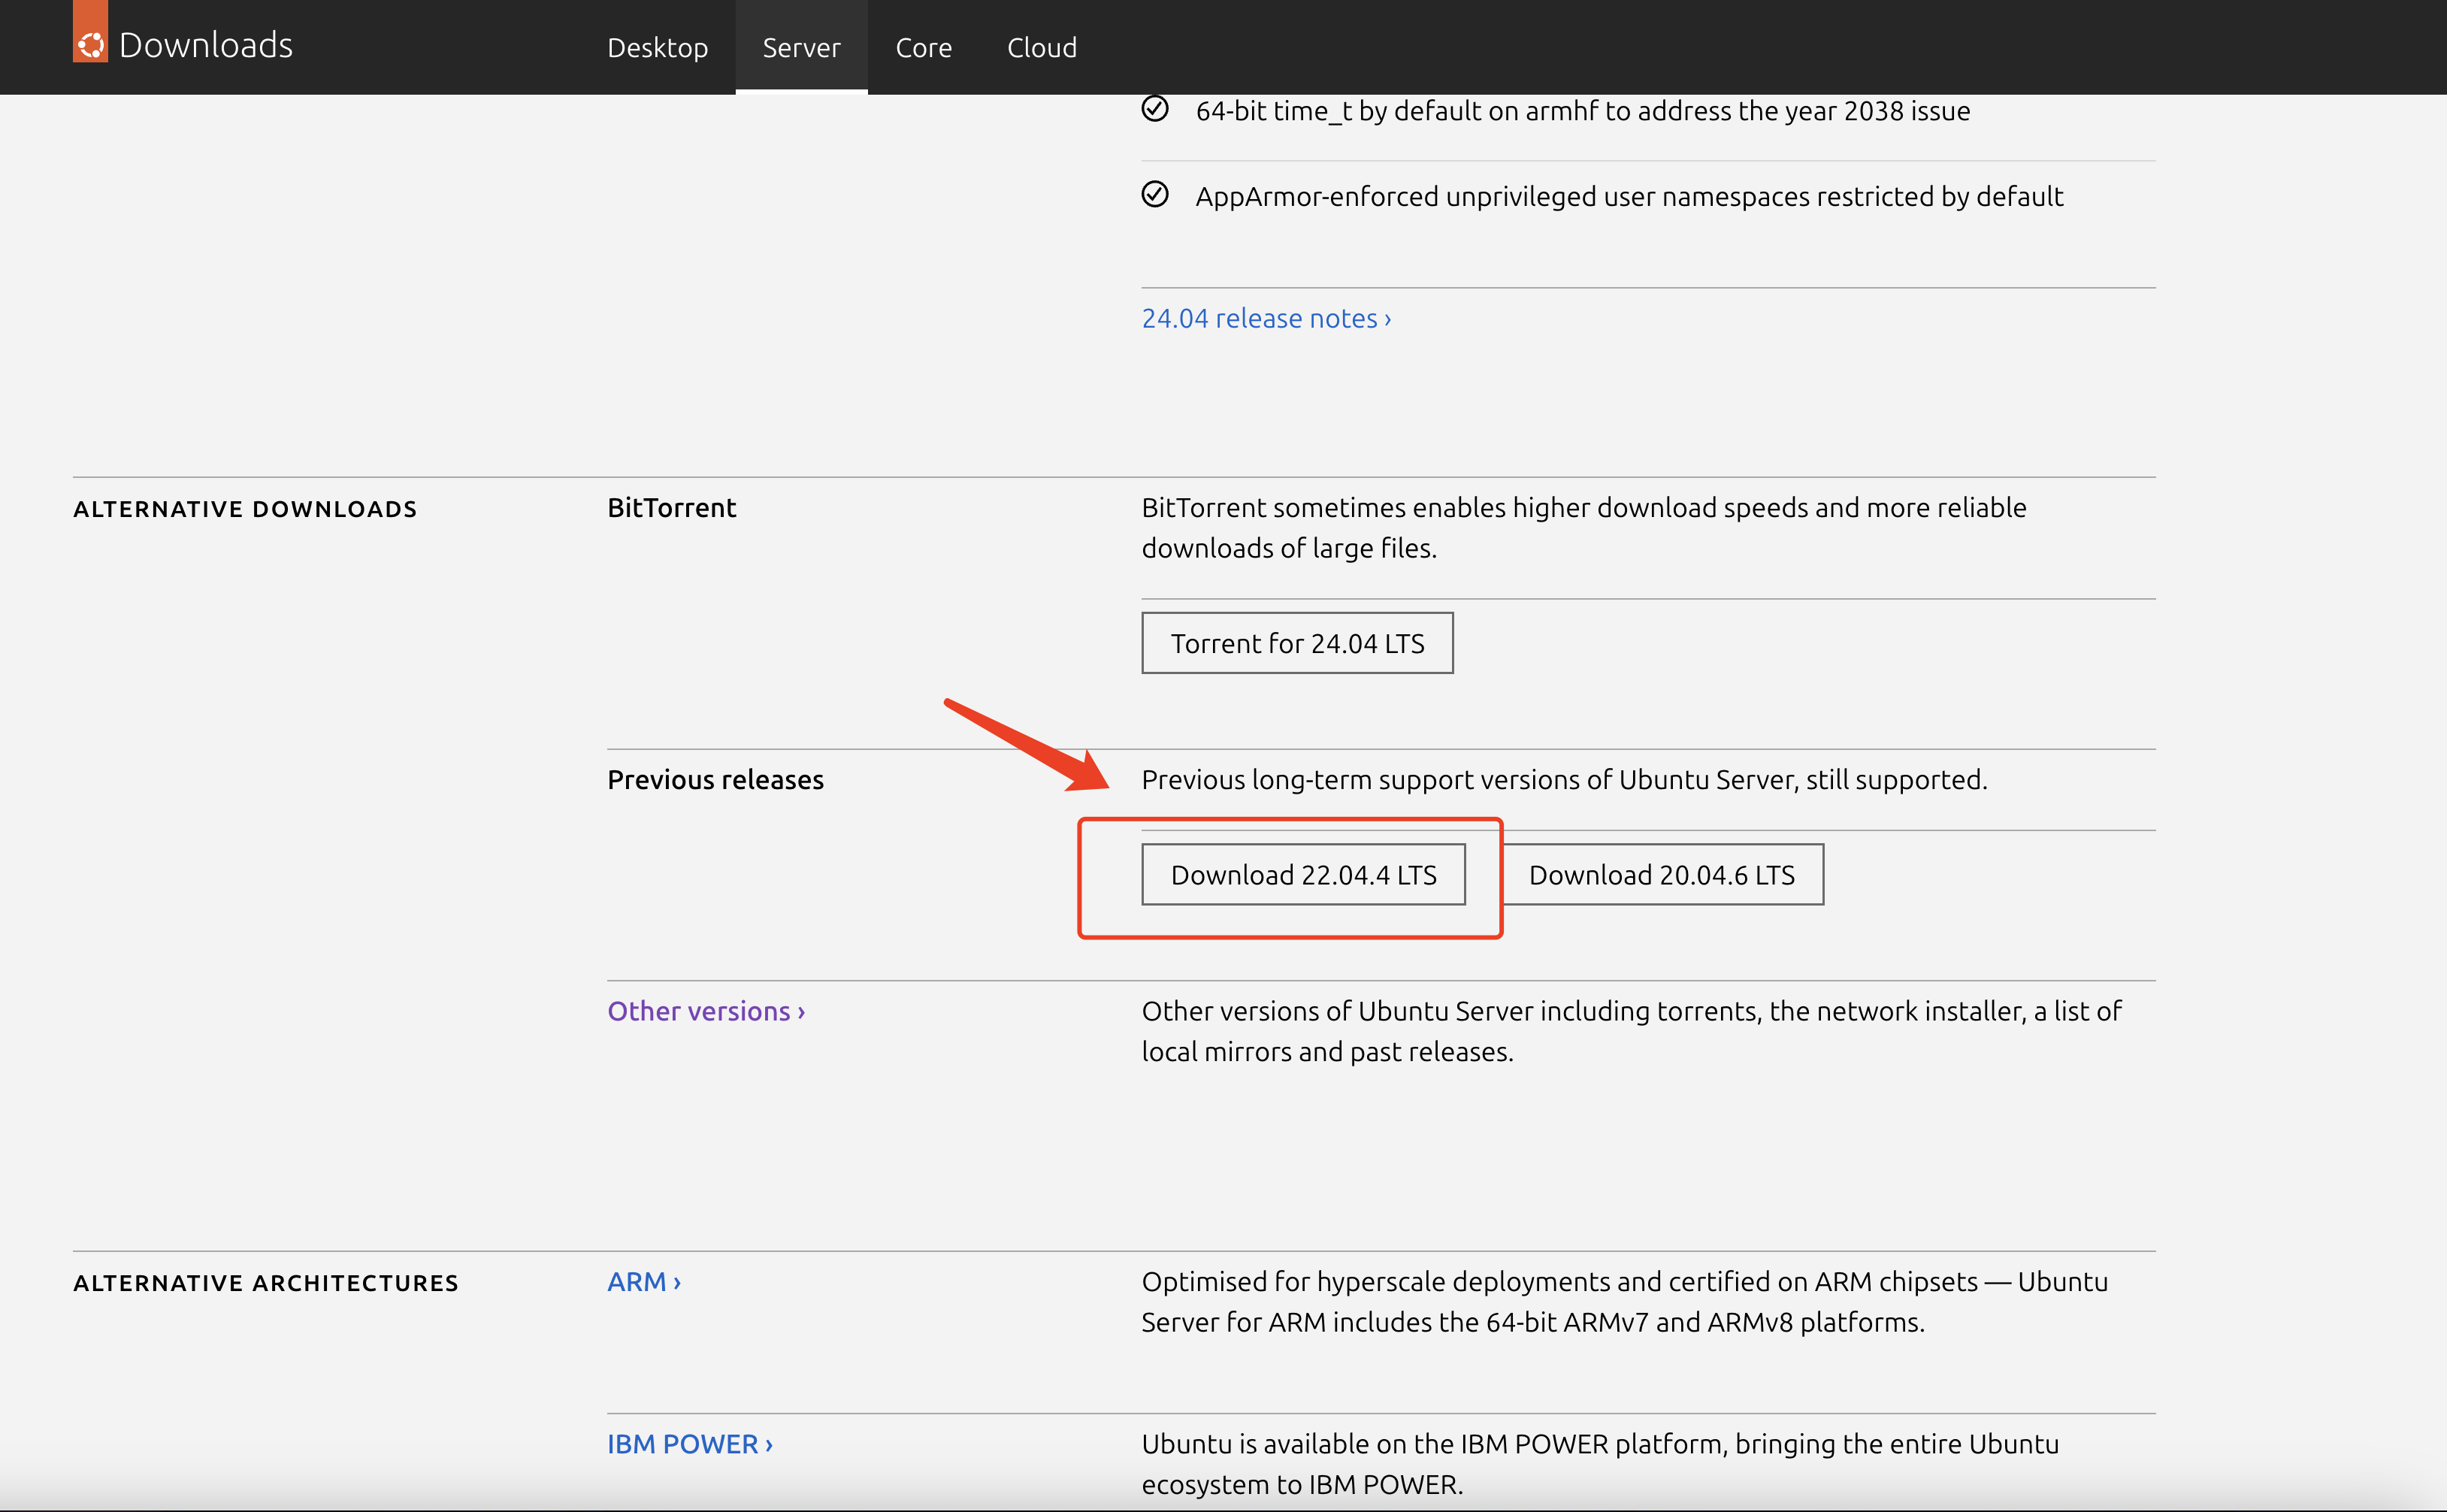
往下翻找到先前版本,选择 Download 22.04 LTS
系统安装
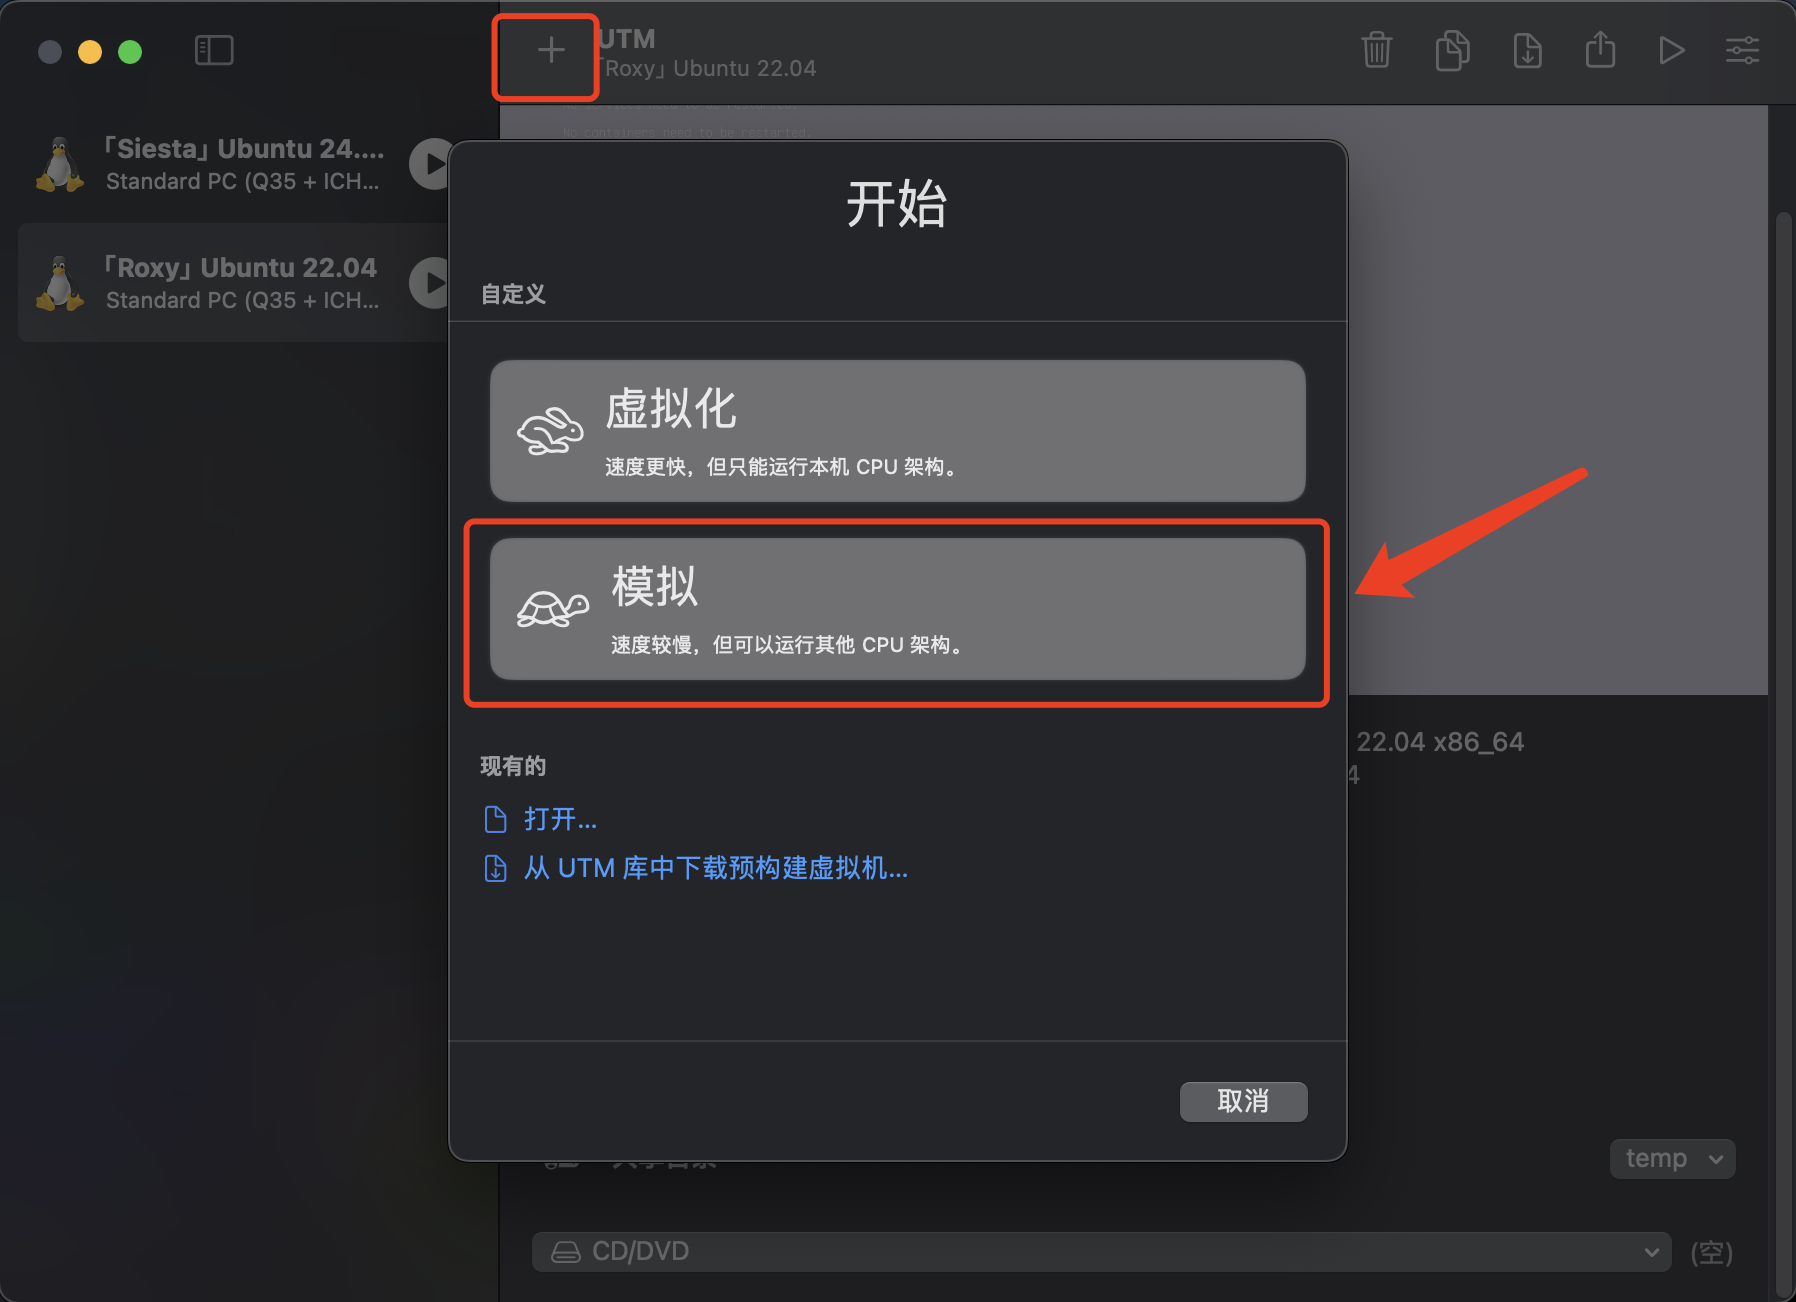
新建虚拟机,选择模拟。
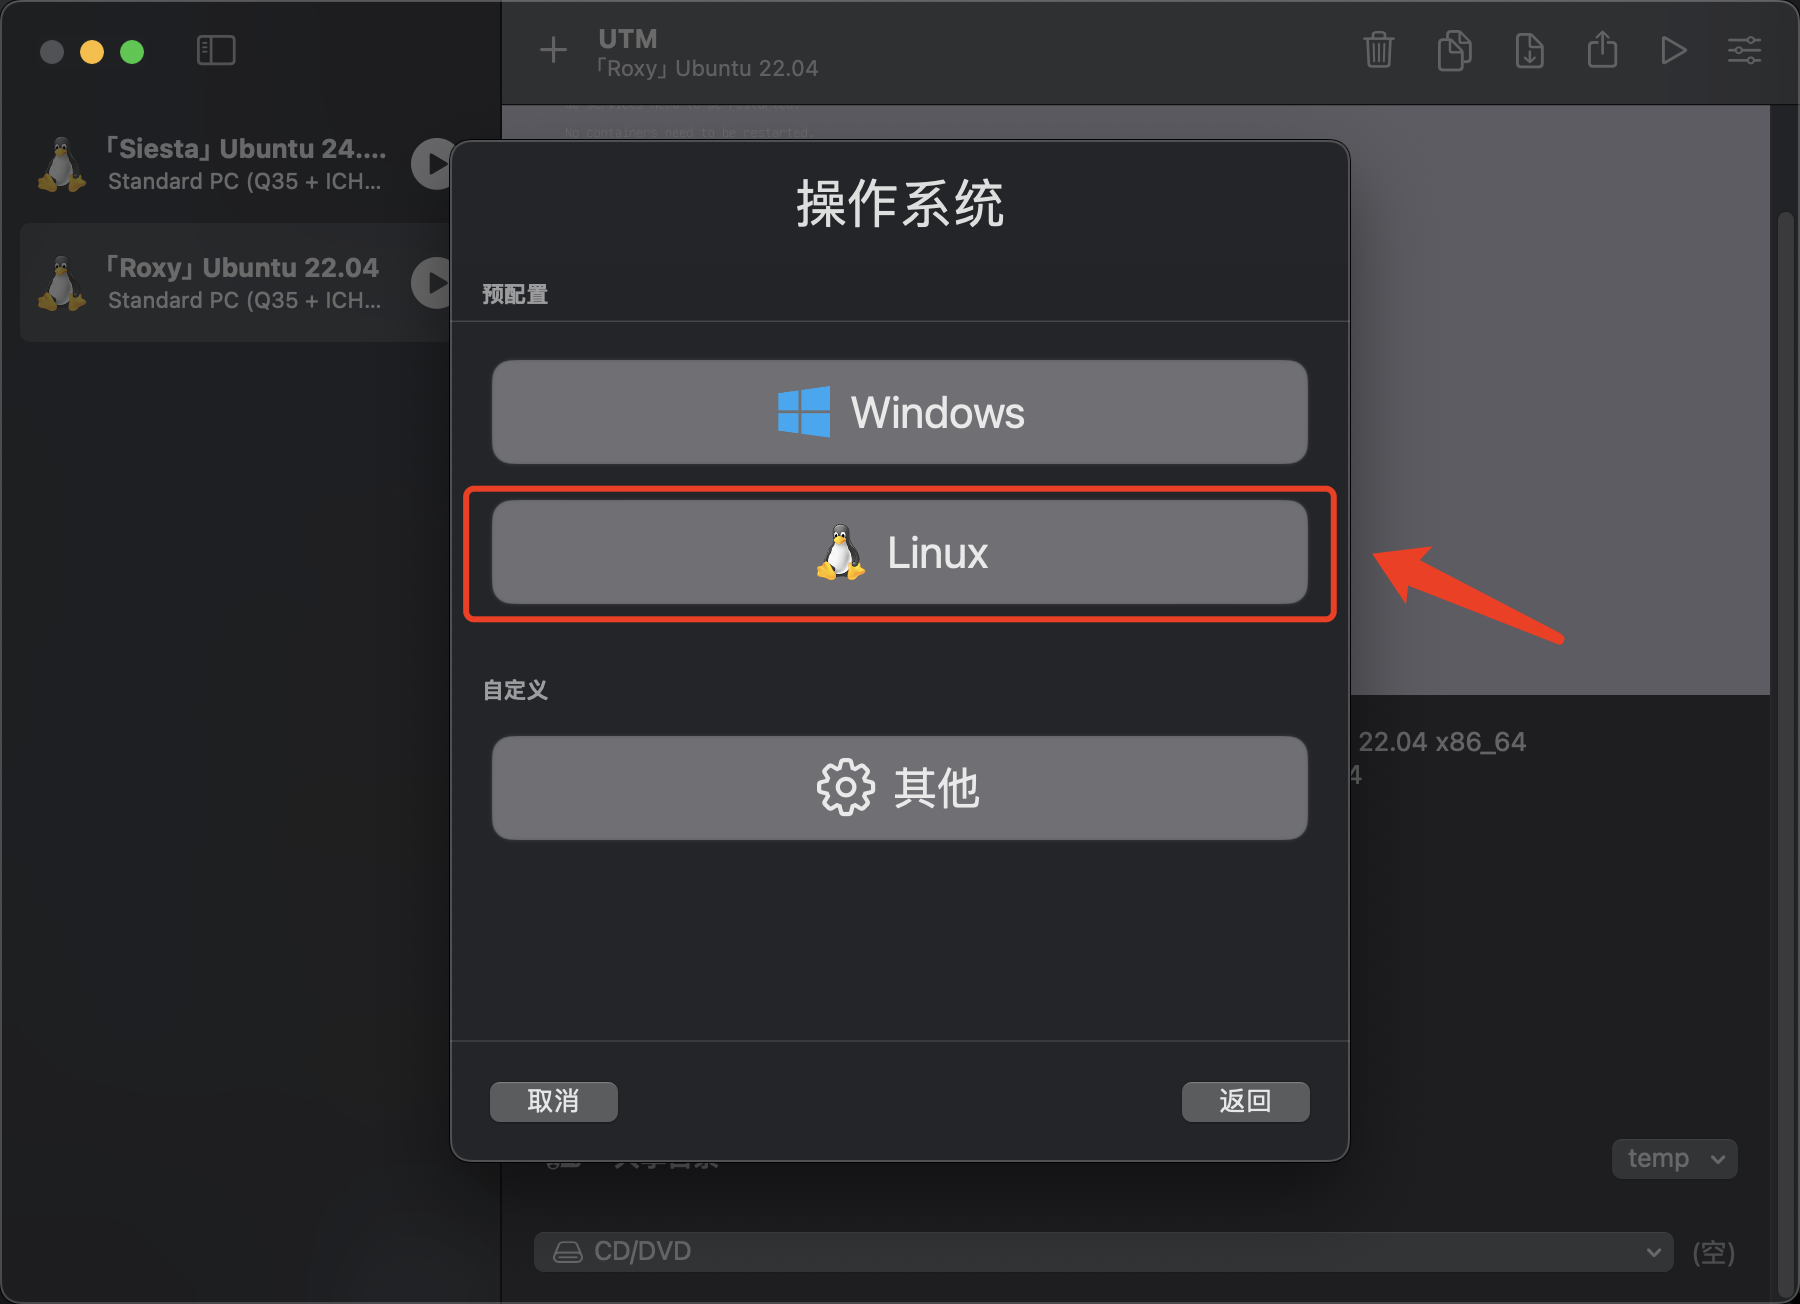
选择Linux
选择已经下载好的镜像文件
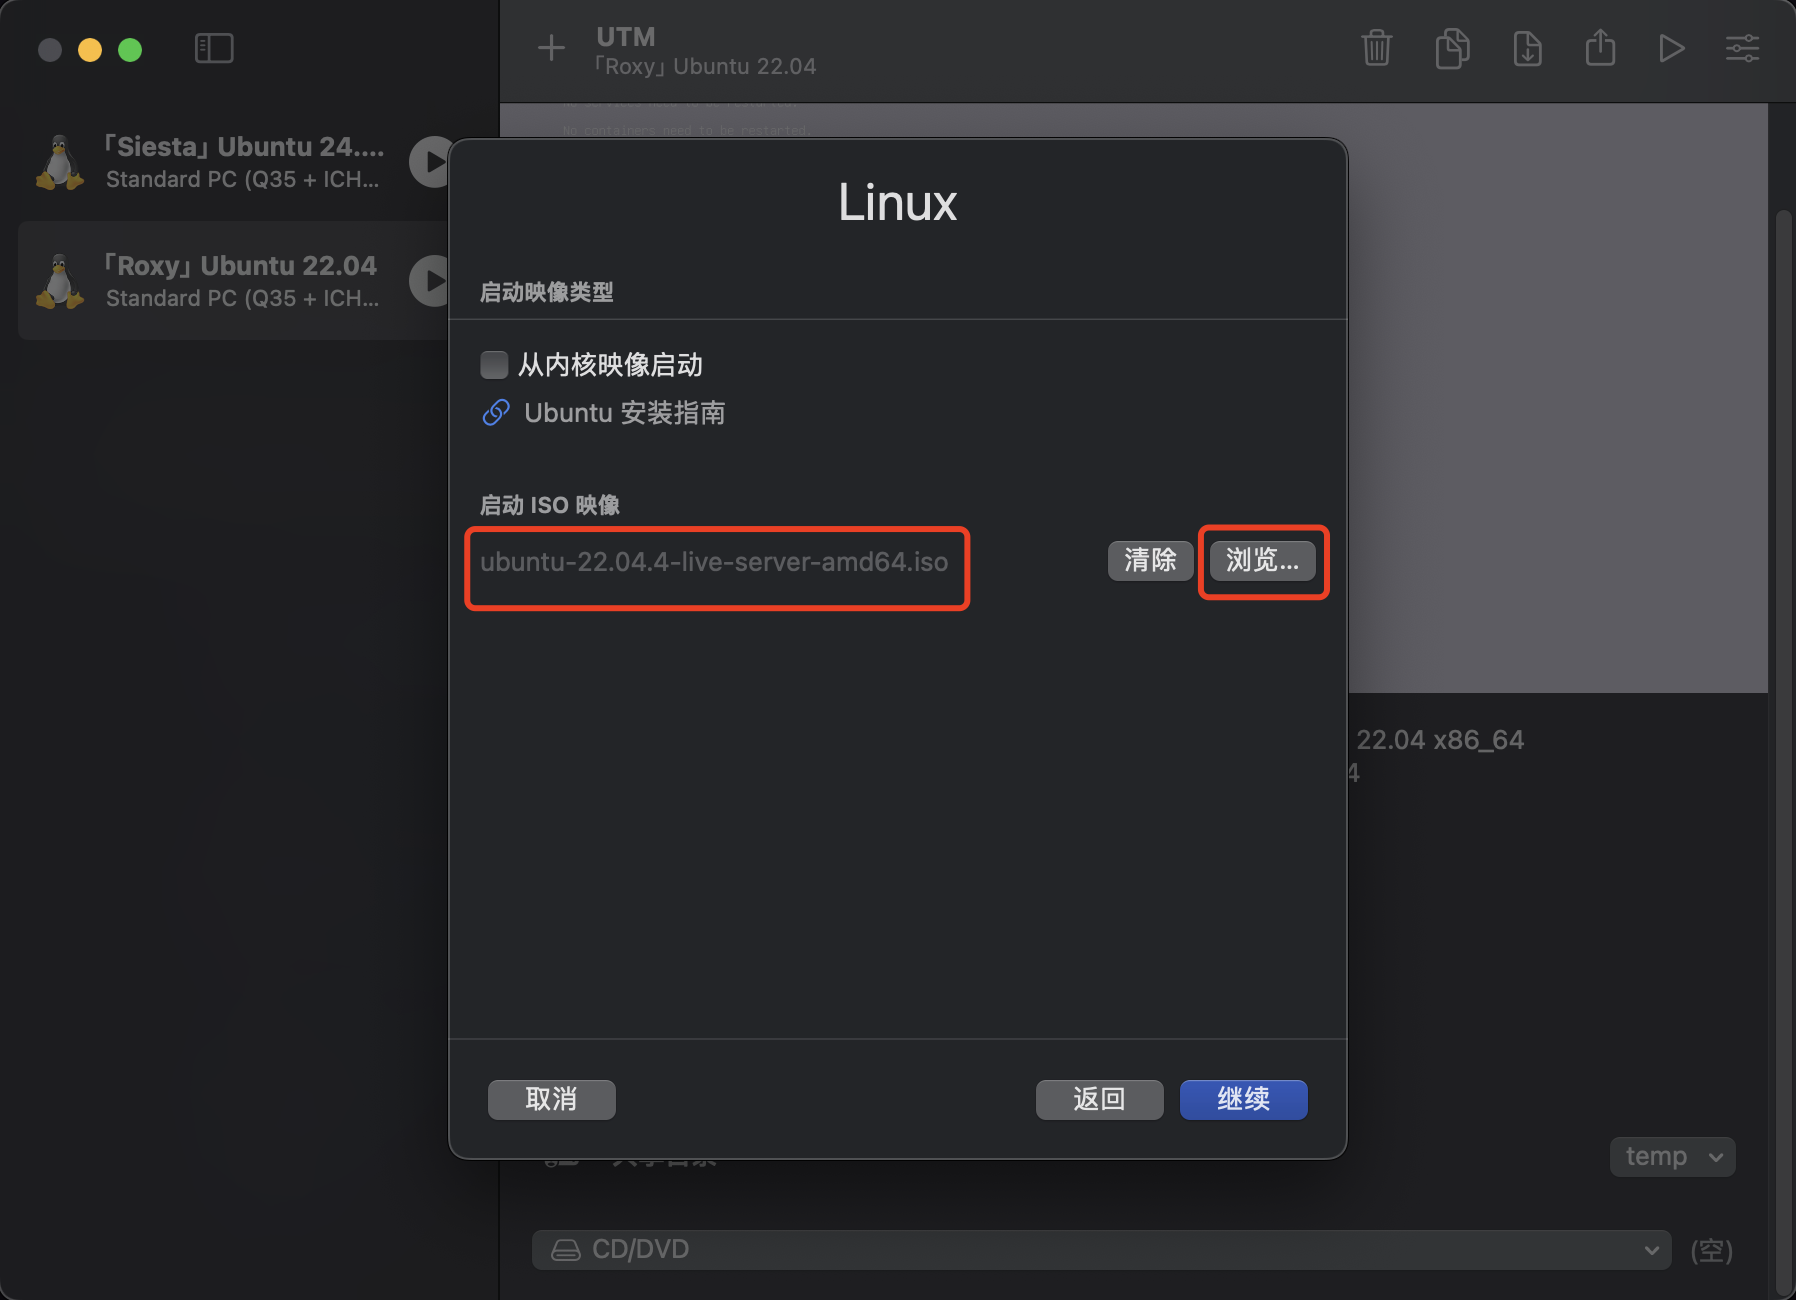
默认选项就是x86_64,直接下一步。硬盘大小、共享目录按需求自行配置,我习惯直接使用 FinalShell ,故不做配置。
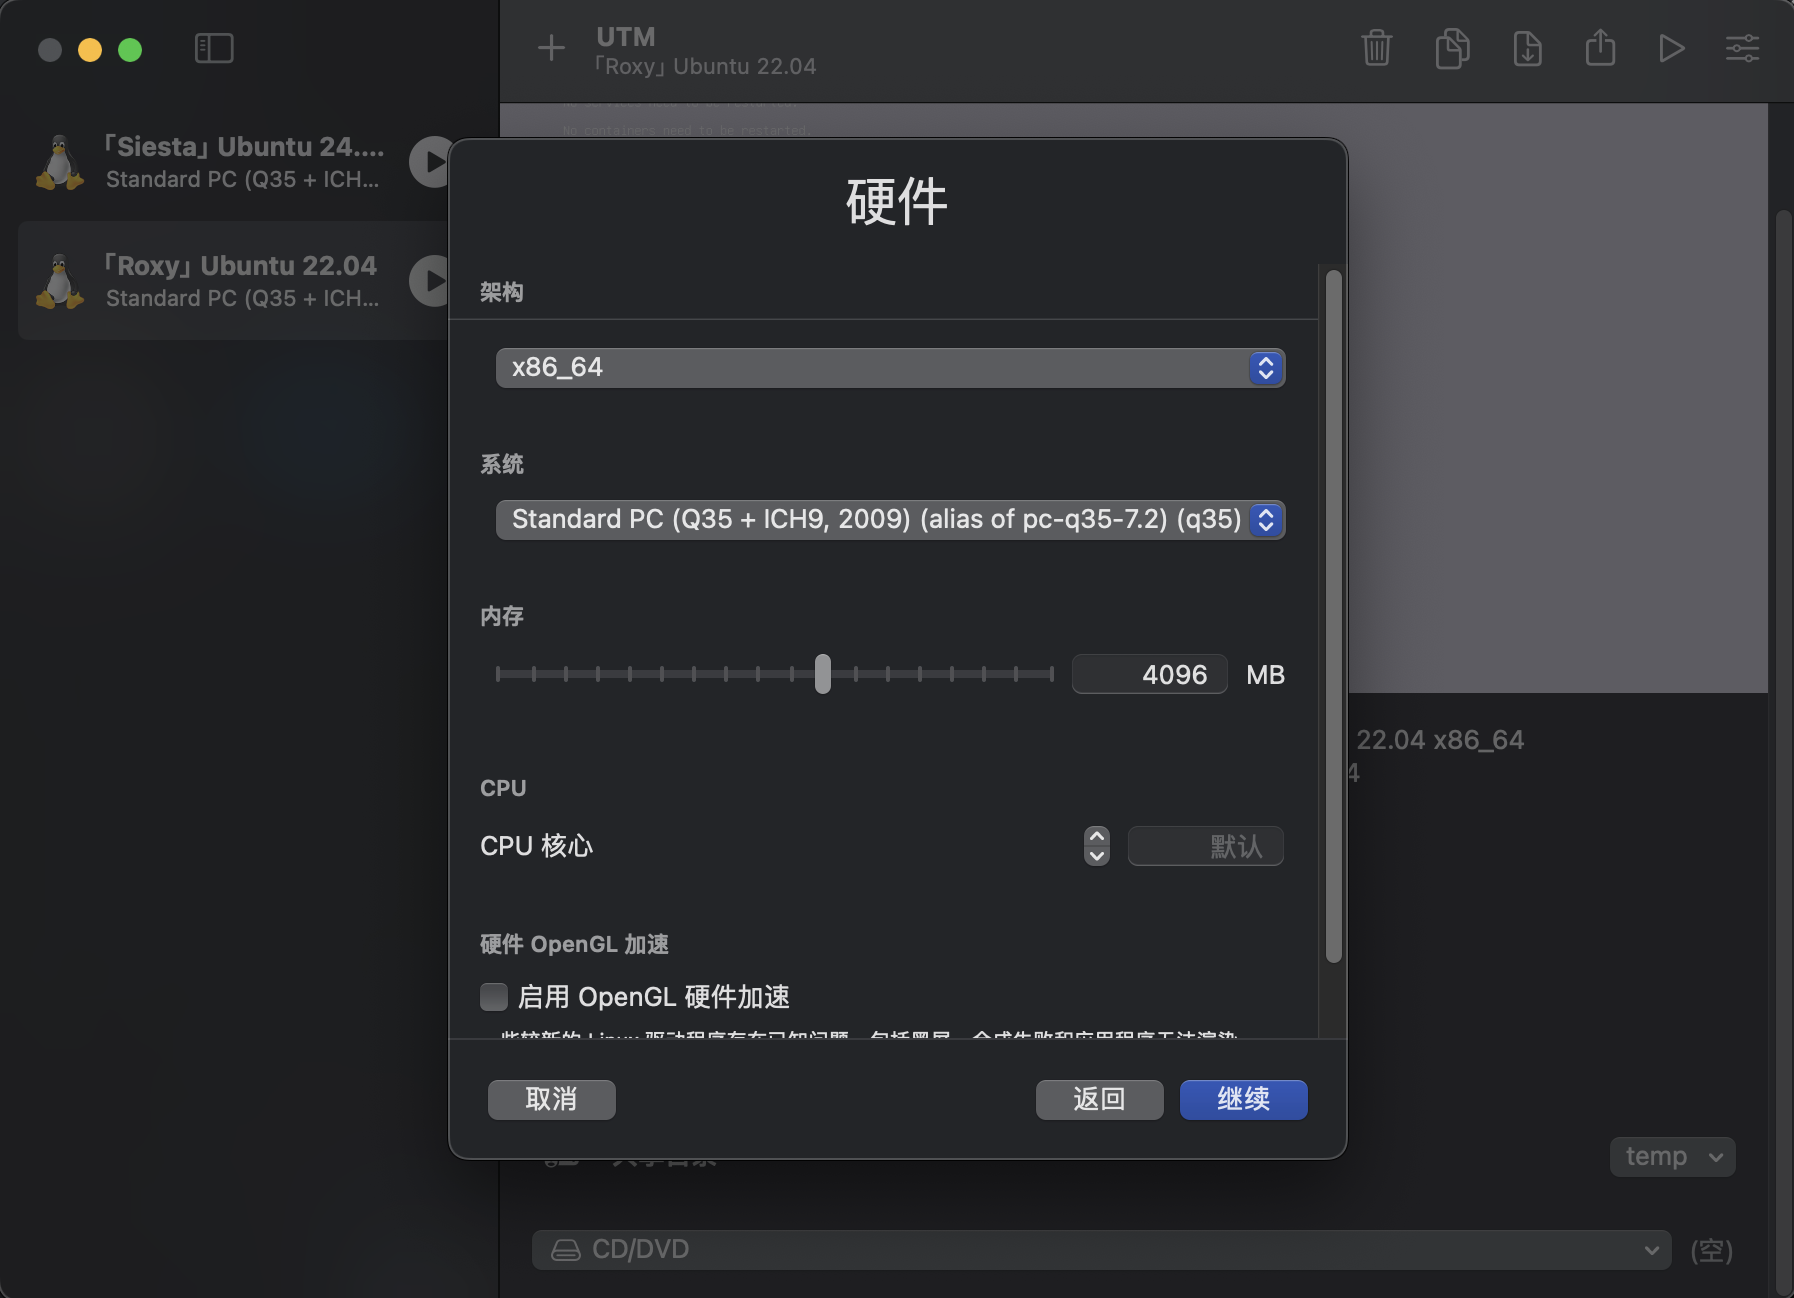
起一个名字,硬件配置就选完了
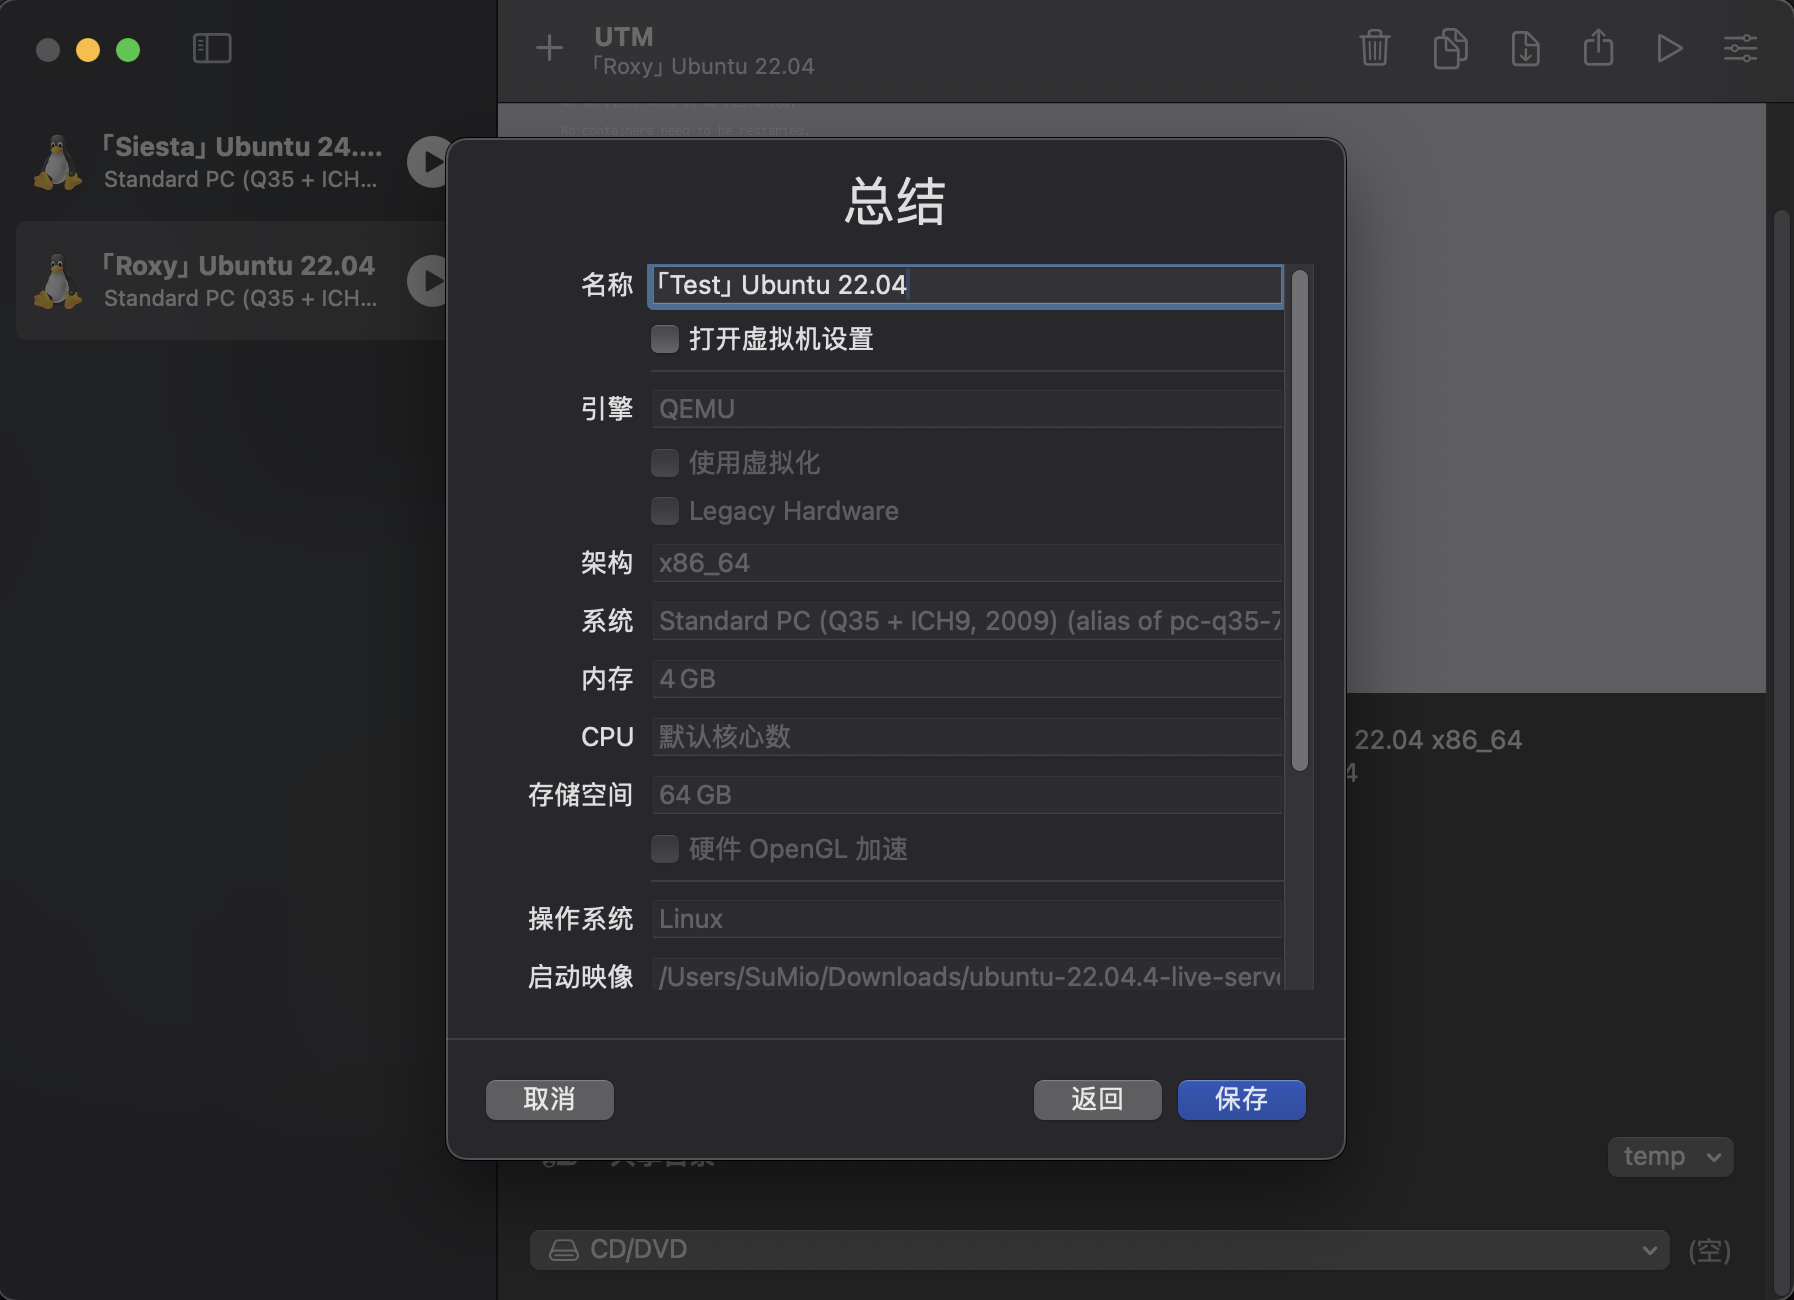
开机后根据提示安装系统,网上教程很多这里就不再重复。
环境搭建
经历了安装系统过程的各位想必已经体会到了该软件对于虚拟机的性能损失有多么严重,那么我们首先要做的就是通过SSH连接这台机器。
换源
NOTE我自己是没有换源的,系统默认选择了清华源。如果需要换源可按以下步骤自行更换,无需换源可直接跳过此步骤。
sudo nano /etc/apt/sources.list
# 默认注释了源码镜像以提高 apt update 速度,如有需要可自行取消注释
deb https://mirrors.tuna.tsinghua.edu.cn/ubuntu/ bionic main restricted universe multiverse
# deb-src https://mirrors.tuna.tsinghua.edu.cn/ubuntu/ bionic main restricted universe multiverse
deb https://mirrors.tuna.tsinghua.edu.cn/ubuntu/ bionic-updates main restricted universe multiverse
# deb-src https://mirrors.tuna.tsinghua.edu.cn/ubuntu/ bionic-updates main restricted universe multiverse
deb https://mirrors.tuna.tsinghua.edu.cn/ubuntu/ bionic-backports main restricted universe multiverse
# deb-src https://mirrors.tuna.tsinghua.edu.cn/ubuntu/ bionic-backports main restricted universe multiverse
deb https://mirrors.tuna.tsinghua.edu.cn/ubuntu/ bionic-security main restricted universe multiverse
# deb-src https://mirrors.tuna.tsinghua.edu.cn/ubuntu/ bionic-security main restricted universe multiverse
Control + O ,回车保存,Control + X 退出
安装openssh
sudo apt update
sudo apt install openssh-server
sudo apt install net-tools vim
至此就可以ifconfig查看自己的ip,然后用其他terminal软件连接就舒服很多了。( 其实直接ip a和nano也可以的,就是ifconfig和vim用习惯了,不装总觉得却点啥 : x
#更新软件 (--此步骤时间较长--)
sudo apt upgrade
安装gcc、gdb
sudo apt install gcc gdb
配置pip源
pip下载速度慢的话可以写个pip源
mkdir ~/.pip
vim ~/.pip/pip.conf
[global]
index-url = https://pypi.tuna.tsinghua.edu.cn/simple/
[install]
trusted-host = pypi.tuna.tsinghua.edu.cn
安装pwntools及依赖
sudo apt install python3 python3-pip python3-dev git libssl-dev libffi-dev build-essential -y
python3 -m pip install --upgrade pip
python3 -m pip install --upgrade pwntools
检查是否可用
python3
from pwn import *
#没有报错就OK,也可以顺便试一下checksec
安装pwndbg
直接克隆是方便的,但是由于出现了很多小问题博主目前都没有解决,所以这里建议大家去github直接下载软件包
https://github.com/pwndbg/pwndbg/releases
找到amd64的.deb安装包下载,然后传到虚机上安装。
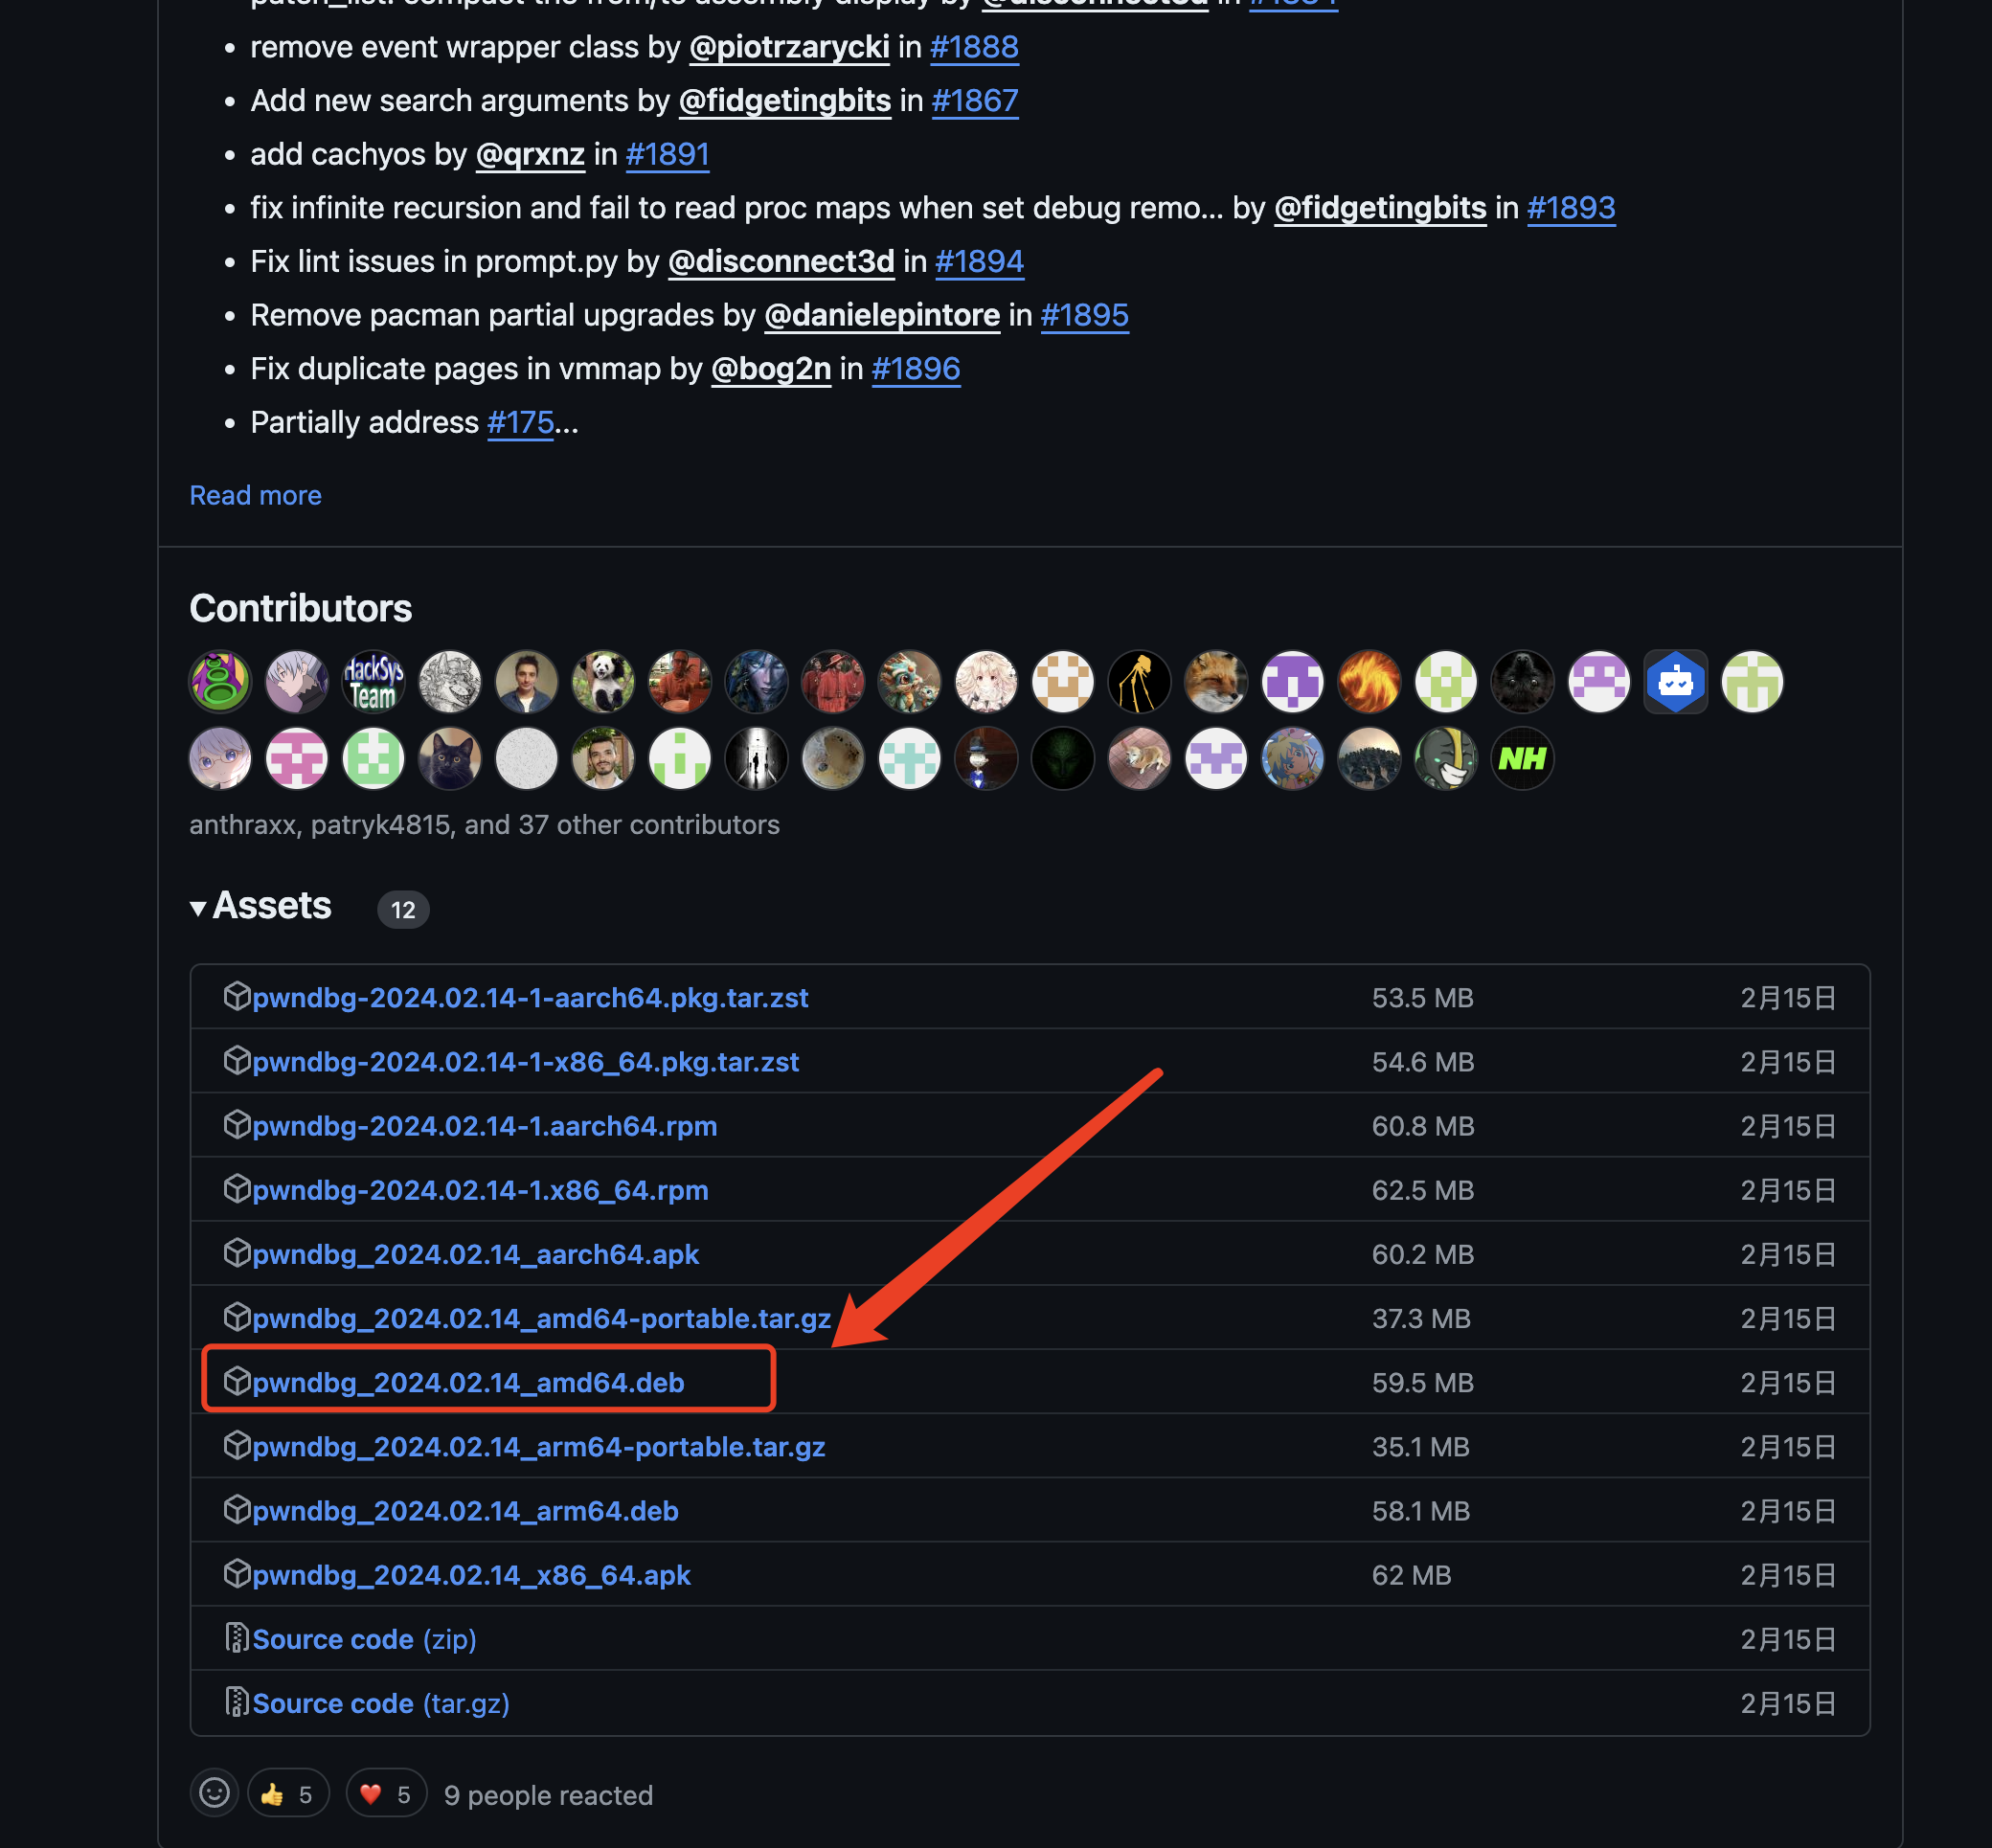
sudo apt install ./pwndbg_2024.02.14_amd64.deb
用此方法安装的pwndbg无法通过gdb调用,可能是我还没有找到方法,后续如果有改进会更新。
测试
#使用方法 pwndbg [file]

mio@25pmlab:~/pwn/callme$ pwndbg callme
Cannot convert between character sets `UTF-32' and `UTF-8'
Reading symbols from callme...
(No debugging symbols found in callme)
pwndbg: loaded 154 pwndbg commands and 47 shell commands. Type pwndbg [--shell | --all] [filter] for a list.
pwndbg: created $rebase, $base, $ida GDB functions (can be used with print/break)
------- tip of the day (disable with set show-tips off) -------
Use the procinfo command for better process introspection (than the GDB's info proc command)
pwndbg> disassemble main
Dump of assembler code for function main:
   0x0000000000400847 <+0>:     push   rbp
   0x0000000000400848 <+1>:     mov    rbp,rsp
   0x000000000040084b <+4>:     mov    rax,QWORD PTR [rip+0x20081e]        # 0x601070 <stdout@@GLIBC_2.2.5>
   0x0000000000400852 <+11>:    mov    ecx,0x0
   0x0000000000400857 <+16>:    mov    edx,0x2
   0x000000000040085c <+21>:    mov    esi,0x0
   0x0000000000400861 <+26>:    mov    rdi,rax
   0x0000000000400864 <+29>:    call   0x400730 <setvbuf@plt>
   0x0000000000400869 <+34>:    mov    edi,0x4009c8
   0x000000000040086e <+39>:    call   0x4006d0 <puts@plt>
   0x0000000000400873 <+44>:    mov    edi,0x4009df
   0x0000000000400878 <+49>:    call   0x4006d0 <puts@plt>
   0x000000000040087d <+54>:    mov    eax,0x0
   0x0000000000400882 <+59>:    call   0x400898 <pwnme>
   0x0000000000400887 <+64>:    mov    edi,0x4009e7
   0x000000000040088c <+69>:    call   0x4006d0 <puts@plt>
   0x0000000000400891 <+74>:    mov    eax,0x0
   0x0000000000400896 <+79>:    pop    rbp
   0x0000000000400897 <+80>:    ret
End of assembler dump.
pwndbg> b *0x0000000000400882
Breakpoint 1 at 0x400882
pwndbg> r
Starting program: /home/mio/pwn/callme/callme
[Thread debugging using libthread_db enabled]
Using host libthread_db library "/lib/x86_64-linux-gnu/libthread_db.so.1".
callme by ROP Emporium
x86_64


Breakpoint 1, 0x0000000000400882 in main ()
warning: could not convert 'pwnme' from the host encoding (UTF-8) to UTF-32.
This normally should not happen, please file a bug report.
LEGEND: STACK | HEAP | CODE | DATA | RWX | RODATA
───────────────────────────────────[ REGISTERS / show-flags off / show-compact-regs off ]────────────────────────────────────
 RAX  0x0
 RBX  0x0
*RCX  0x7ffff7aeb887 (write+23) ◂— cmp rax, -0x1000 /* 'H=' */
*RDX  0x1
*RDI  0x7ffff7bf3a70 (_IO_stdfile_1_lock) ◂— 0x0
*RSI  0x1
*R8   0x7
*R9   0x7ffff7fc9040 (_dl_fini) ◂— endbr64
*R10  0x7ffff79e40c8 ◂— 0xf0022000065de
*R11  0x246
*R12  0x7fffffffe438 —▸ 0x7fffffffe6ae ◂— '/home/mio/pwn/callme/callme'
*R13  0x400847 (main) ◂— push rbp
 R14  0x0
*R15  0x7ffff7ffd040 (_rtld_global) —▸ 0x7ffff7ffe2e0 ◂— 0x0
*RBP  0x7fffffffe320 ◂— 0x1
*RSP  0x7fffffffe320 ◂— 0x1
*RIP  0x400882 (main+59) ◂— call 0x400898
────────────────────────────────────────────[ DISASM / x86-64 / set emulate on ]─────────────────────────────────────────────
 ► 0x400882 <main+59>     call   pwnme                      <pwnme>
        rdi: 0x7ffff7bf3a70 (_IO_stdfile_1_lock) ◂— 0x0
        rsi: 0x1
        rdx: 0x1
        rcx: 0x7ffff7aeb887 (write+23) ◂— cmp rax, -0x1000 /* 'H=' */

   0x400887 <main+64>     mov    edi, 0x4009e7
   0x40088c <main+69>     call   puts@plt                      <puts@plt>

   0x400891 <main+74>     mov    eax, 0
   0x400896 <main+79>     pop    rbp
   0x400897 <main+80>     ret

   0x400898 <pwnme>       push   rbp
   0x400899 <pwnme+1>     mov    rbp, rsp
   0x40089c <pwnme+4>     sub    rsp, 0x20
   0x4008a0 <pwnme+8>     lea    rax, [rbp - 0x20]
   0x4008a4 <pwnme+12>    mov    edx, 0x20
──────────────────────────────────────────────────────────[ STACK ]──────────────────────────────────────────────────────────
00:0000│ rbp rsp 0x7fffffffe320 ◂— 0x1
01:0008│+008     0x7fffffffe328 —▸ 0x7ffff7a00d90 (__libc_start_call_main+128) ◂— mov edi, eax
02:0010│+010     0x7fffffffe330 ◂— 0x0
03:0018│+018     0x7fffffffe338 —▸ 0x400847 (main) ◂— push rbp
04:0020│+020     0x7fffffffe340 ◂— 0x100000000
05:0028│+028     0x7fffffffe348 —▸ 0x7fffffffe438 —▸ 0x7fffffffe6ae ◂— '/home/mio/pwn/callme/callme'
06:0030│+030     0x7fffffffe350 ◂— 0x0
07:0038│+038     0x7fffffffe358 ◂— 0xe68fe428cbe3f151
────────────────────────────────────────────────────────[ BACKTRACE ]────────────────────────────────────────────────────────
 ► 0         0x400882 main+59
   1   0x7ffff7a00d90 __libc_start_call_main+128
   2   0x7ffff7a00e40 __libc_start_main+128
   3         0x40078a _start+42
─────────────────────────────────────────────────────────────────────────────────────────────────────────────────────────────
pwndbg>
至此已经可以进行简单的调试了
后记
只能说先凑活用着,应付一些没法联网的环境,几天搞下来感觉在ARM上跑x86本就是逆天而行…
师傅们若对此方案的不足、错误之处有异议,或者有更好的方案,欢迎直接私信拷打咱 ; )

